In this post, I’d like to introduce a new WordPress plugin for embedding interactive and animated content in WordPress: Tumult Hype Animations for WordPress. For a quick walkthrough of how to use this plugin, watch this video.
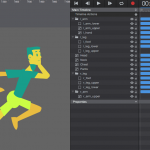
If you’re not familiar, Tumult Hype is a powerful tool for building advanced interactive and animated content that works on any device. When you open Tumult Hype for the first time, you’re greeted by a blank canvas with a timeline below. Content you add to your scene can easily be animated using the record button and manipulating the timeline. As you explore the program you’ll find powerful features for a range of interactive production: motion curves, custom easing transitions, touch gestures, web font support, audio actions, a powerful physics engine, and responsive layout features.
The Hype Animations plugin for WordPress makes integrating your HTML5 animations in your WordPress blog a painless drag & drop process. The plugin can be installed and activated in a minute from the WordPress Plugin repository by searching for ‘Tumult Hype Animations.’ Installing the plugin allows you to add exported Tumult Hype animations to posts and pages using simple textual shortcodes. You can update previously-uploaded animations from the plugin’s administration page and copy the full embed code to place your animation elsewhere (outside of WordPress, even). This allows you optionally leverage your WordPress site as a simple hosting platform for your Hype animations.
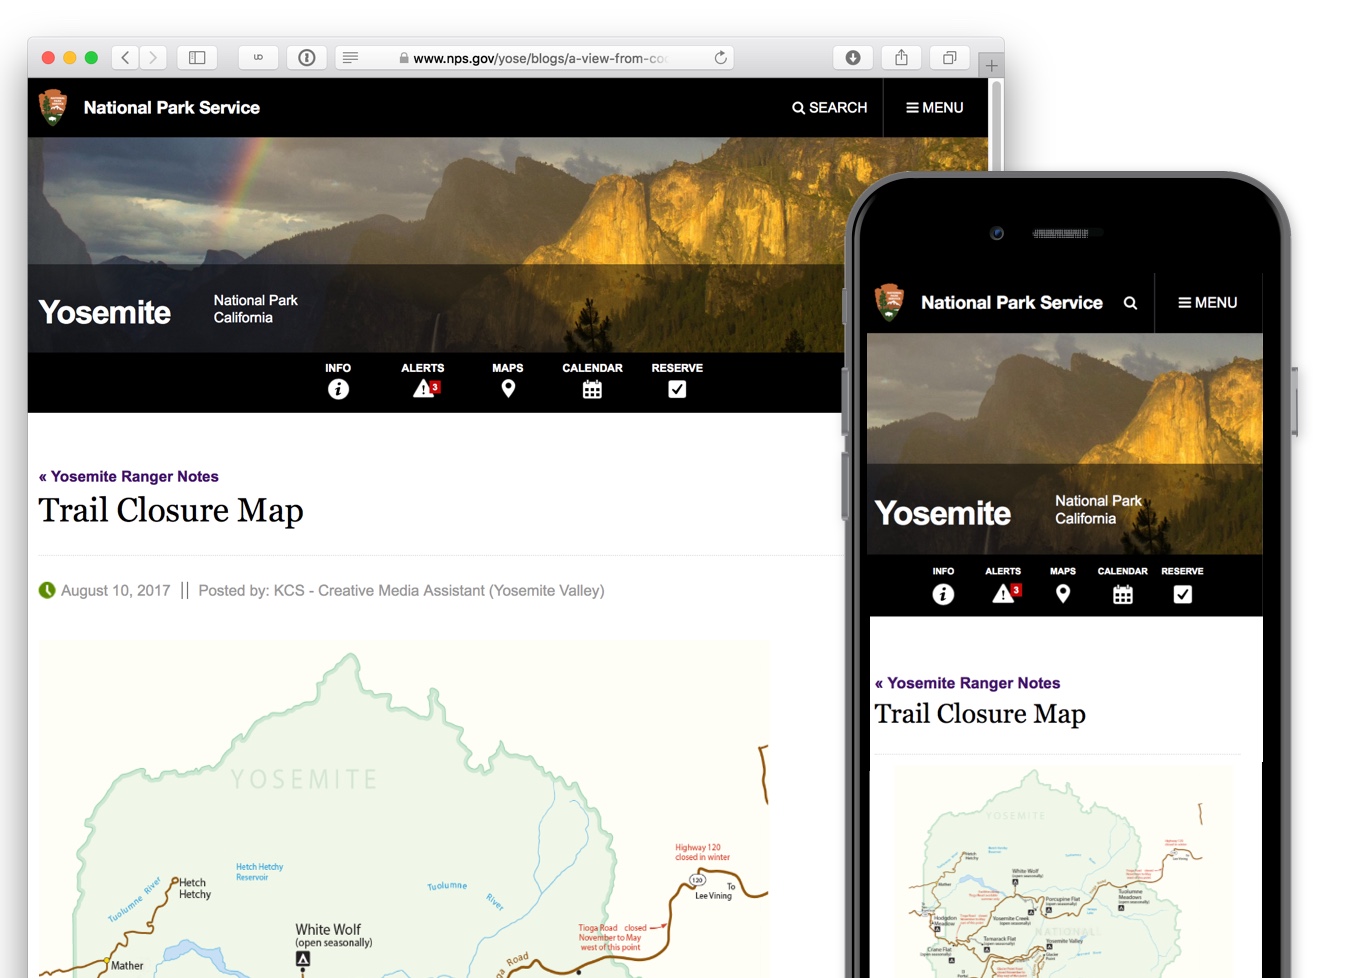
Let’s say you’re building an interactive map you want to keep updated on a regular WordPress page. Instead of just reuploading a static PDF, you can quickly create an interactive map in Tumult Hype. To start, create a Tumult Hype document with a width as the maximum size of your blog’s width. If you have a responsive theme, you can even have your animation expand and contact with your theme. If you’d like to test this process out, download an unrestricted (14 day trial here). In the example below, our maximum blog post width is 463 pixels wide, so our scene size is set to that number:

Next, you can build out interactive features in your document: setup your document to respond to mouse hovers, update any road closures, and create any type of interactivity to make the map more interesting and useful. Once you’re happy with your document and you’ve previewed it using the built-in browser preview and the free mobile preview app Hype Reflect, the next step is to prepare it for the WordPress plugin.
Packing up a Hype animation for the plugin is simple. The plugin requires animations are first exported in the OAM format, which creates a zipped package containing all JavaScript, media, and code required to display your animation. This is the same format for embedding in applications like Adobe Muse. To export in this format, select File > Export as HTML5 > Export as OAM file. Switching over to your WordPress site, start a new Page or Post. With the plugin installed, click the new ‘Hype Animations’ button to the right of the Add Media button:

Drag and drop your OAM file on the resulting overlay, and your animation will upload, and the plugin will generate a shortcode and automatically add it your post or page:


Leveraging CSS Styles and Responsive Layouts
When embedding your animation, the plugin uploads the Hype JavaScript runtime, resources, and animation data and creates a reference to it with JavaScript on the page as a standard DIV element. Since the embed is on the same page as your WordPress theme, you can access any CSS styles or fonts you currently use in your WordPress theme to seamlessly incorporate design elements in your animations. This allows you to leverage any web fonts or CSS components you’ve already setup in your site. You may need to uncheck ‘Protect from External Styles’ in the document inspector to leverage external CSS styles.
For your responsive WordPress theme, you can also mirror your theme’s breakpoints in Tumult Hype so your animation adapts to all device sizes you wish to support:
In the Scene Inspector, you can easily set the desired breakpoint for your individual layouts. For more information about setting up responsive layouts in Hype, visit the documentation.
Additional Interaction and Export Features
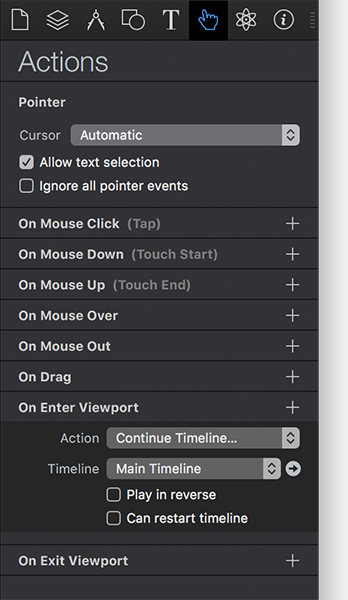
You may choose to only start your animation when visible by using an ‘On Enter Viewport’ action. Setting this up is as easy as selecting a dropdown menu in the Action inspector:
Don’t limit yourself to just HTML5 exports of your projects. For social media sharing, you can easily export individual frames, animated GIFs, or even video directly from Tumult Hype. These export formats can be used for the featured images assigned to your WordPress post, as a Social Share card on Twitter & Facebook, or even as a video teaser.
For more information about the plugin, please join us on the forums.
Technical Notes:
Below are a few technical notes on how the WordPress plugin works. For more general information about Hype, visit the Hype FAQ page.
- All uploads are kept in your
wp-contentfolder on your WordPress installation, and there’s no need for any additional server infrastructure. - The embed code is a non-render blocking JavaScript embed. You can optionally switch from embedding the Hype animation as an iframe instead of a DIV. This might be preferable if you require access to code added to the
of your Tumult Hype document. - Easily track events or interactions on Google Analytics with minimal code. Learn more here.
- Read variables from your WordPress post and use them to control your animations: For example:
TolumneMeadowsRoad = closed;Learn more here.